


Have you ever wished for a simple yet effective way to introduce more greenery into your surroundings? Do you dream of vibrant wildflowers bursting forth in unexpected places? Seed bombs offer an accessible and enjoyable solution, transforming you into a guerrilla gardener with a handful of mud.
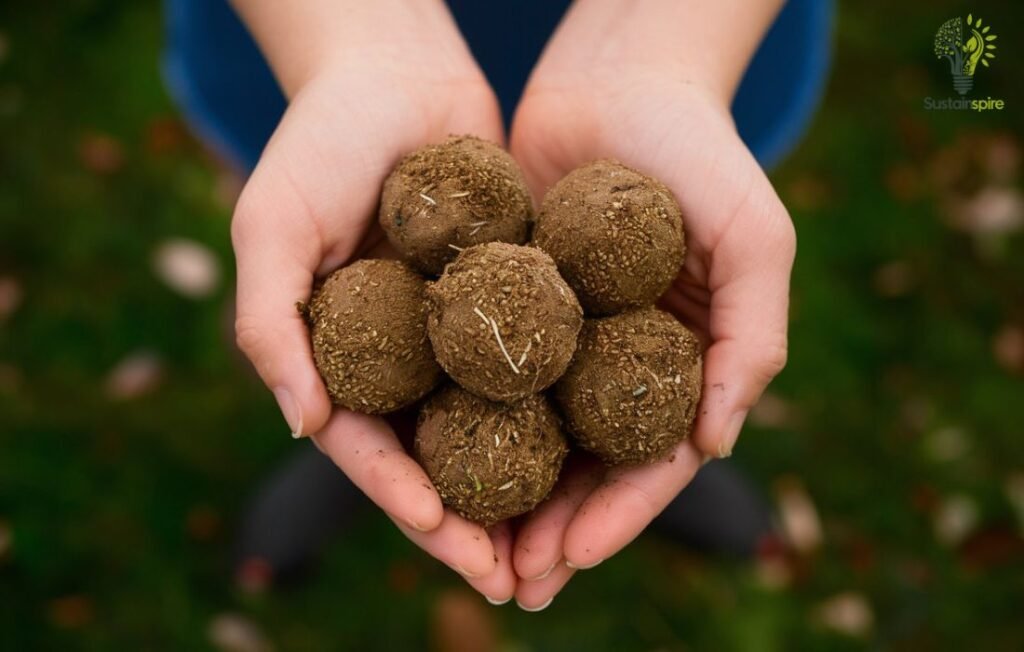
The concept of seed balls, also known as earth balls or seed bombs, draws inspiration from ancient agricultural practices. These compact spheres of soil and clay provide a protective casing for seeds. This casing shields them from harsh weather, pests, and hungry birds. This method ensures a higher germination rate compared to traditional scattering techniques.
This guide will delve into the art of making balls with seed. Which will be providing you with all the necessary steps, tips, and tricks. Learn how to select the perfect seeds for your region, create the ideal mixture, and launch your creations into the world. Get ready to witness nature’s magic unfold as your seed ball sprout, blossom, and contribute to a greener, more vibrant environment.
Understanding Seed Bombs: What, Why, and How?
Seed Bombs, also known as “earth balls” or “seed balls,” are a fun and easy way to spread plants and flowers! These little balls of life are a mixture of seeds, soil, and clay. They protect the seeds until the conditions are perfect for them to sprout. Think of them as tiny, portable greenhouses, ready to burst into life! According to the reports of the United Nations Development Programme, this is a technique known as the Fukuoka technique. This planting method was developed by Masanobu Fukuoka in southern Japan. He was a Japanese farmer and philosopher.
Why use seed balls? Their design offers a protective environment for seeds, shielding them from birds, insects, and harsh weather. This method increases the chances of successful germination. They offer a simple solution for distributing seeds over larger areas. Which is perfect for those hard-to-reach spots in your garden or out in nature. Plus, they’re a great way to introduce kids to the wonders of gardening. Earth balls are a brilliant method of guerilla gardening.
How do seed balls work? The clay in the mixture acts like a protective shell, shielding the seeds from hungry birds, harsh weather, and curious critters. Once rain falls, the clay softens, allowing the seeds to germinate and grow. It is like magic, but with more mud!
Gathering Your Seed Ball Supplies:
Before you get started with your inner guerrilla gardener, you will need to gather a few essential supplies. Don’t worry, this isn’t about finding some rare, exotic plant. We’re talking about simple ingredients that are probably already in your pantry or garden shed!
1. What Seeds Should I Choose for My Seed Balls?
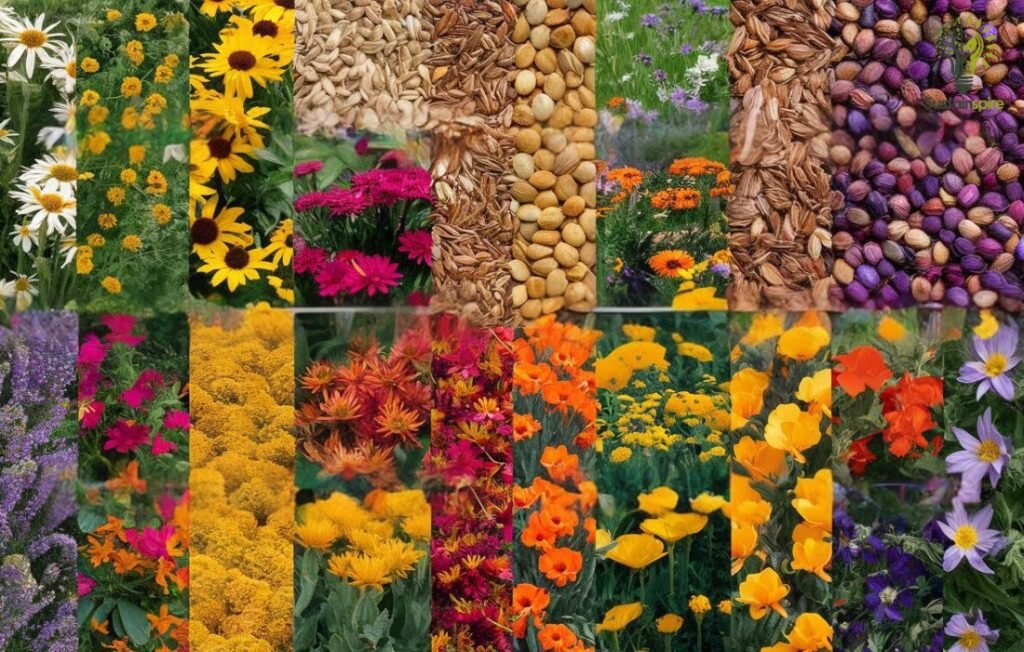
Choosing the right seeds is crucial for seed ball success! Native plants are always a great option, as they are well-suited to your local climate and soil conditions. You must also consider the sunny, shady, times of the year and weather conditions. Here are a few examples based on different regions of the United States:
- Northeast: Wild Bergamot (Monarda fistulosa), Black-Eyed Susan (Rudbeckia hirta), Butterfly Weed (Asclepias tuberosa)
- Southeast: Purple Coneflower (Echinacea purpurea), Blanket Flower (Gaillardia pulchella), Swamp Milkweed (Asclepias incarnata)
- Midwest: Common Milkweed (Asclepias syriaca), Bee Balm (Monarda didyma), New England Aster (Symphyotrichum novae-angliae)
- Southwest: Desert Marigold (Baileya multiradiata), Mexican Hat (Ratibida columnifera), Firewheel (Gaillardia pulchella)
- Northwest: California Poppy (Eschscholzia californica), Western Columbine (Aquilegia formosa), Douglas Aster (Symphyotrichum subspicatum)
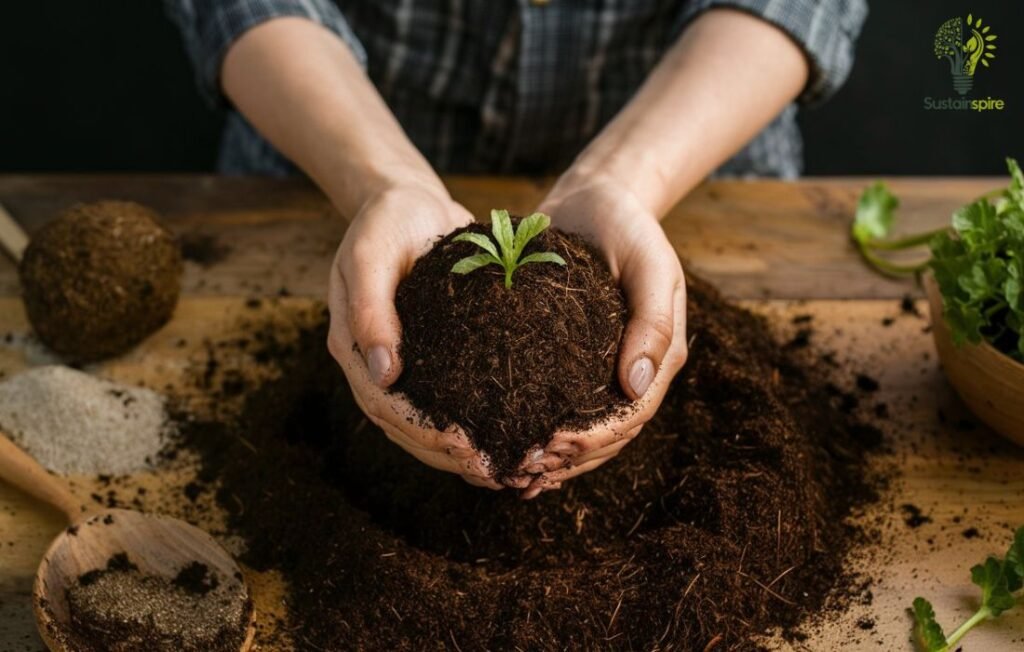
2. The Best Soil Mix for Seed Bombs:
The ideal soil mix for your seed bombs is like a nurturing haven for your future plants. you will want a blend that retains moisture, provides nutrients, and allows for proper drainage:
- Compost: Rich in nutrients, compost gives your seeds a nutritional boost to kickstart growth.
- Garden Soil: Provides structure and additional nutrients for healthy root development.
- Sand: Improves drainage, preventing the seed balls from becoming too waterlogged.
A good starting point is a mix of equal parts compost, garden soil, and sand. You can adjust the ratios based on your local soil conditions. Remember, we want those seeds to thrive!
3. Other Essential Ingredients:
Beyond soil, a few other components are essential for binding those precious seeds and creating the perfect seed ball:
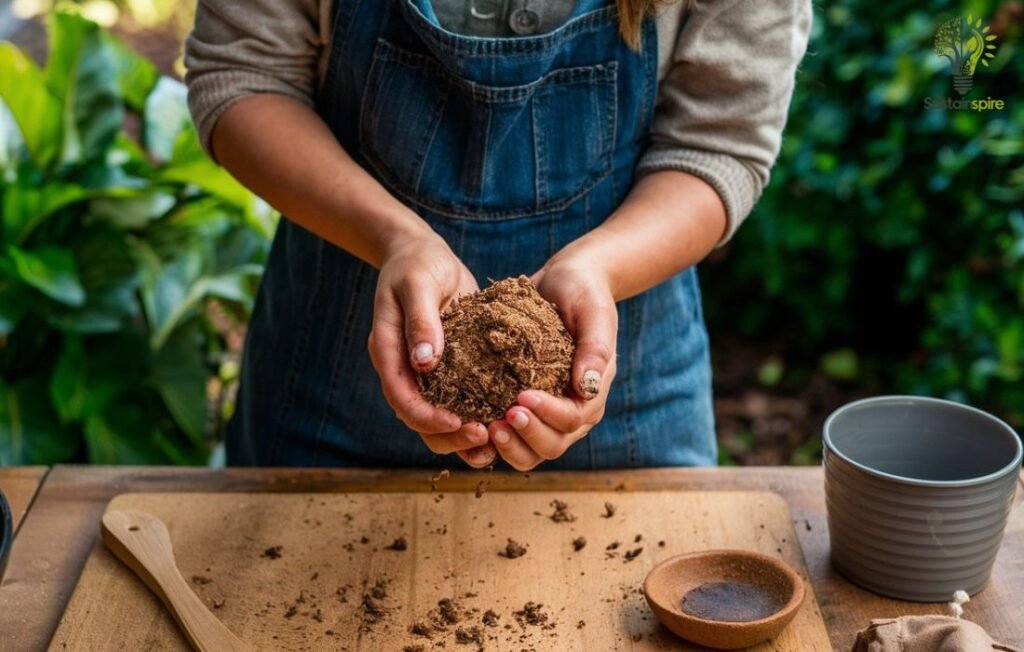
- Clay: Acts as the glue that holds everything together. Opt for natural clay powder, which you can find at most garden centers.
- Water: The magic ingredient that activates the clay’s binding properties and helps to moisten the soil mixture. Add water gradually until you achieve a moldable consistency.
- Optional Add-ins: Get creative! Consider adding chili powder to deter pests (squirrels beware!), or coffee grounds for a slow-release nitrogen boost.
With these simple supplies gathered, you are ready to get started on your seed ball-making adventure. Stay tuned for our next section, where we’ll reveal the secrets to crafting the perfect seed ball!
How to Make Seed Bombs: A Step-by-Step Guide
This section will equip you with the knowledge to craft seed bombs, those tiny packages of potential just waiting to burst into life! Which will guide you from basic ingredients to perfectly formed seed balls ready for their mission.
Step 1: Mixing Up Your Seed Ball Magic
First things first, gather your ingredients. you will need a mix of dry clay, compost, and of course, seeds! This powerful combo provides the perfect environment for your seeds to germinate. The clay acts like a cozy little home, protecting them from hungry critters and harsh weather.
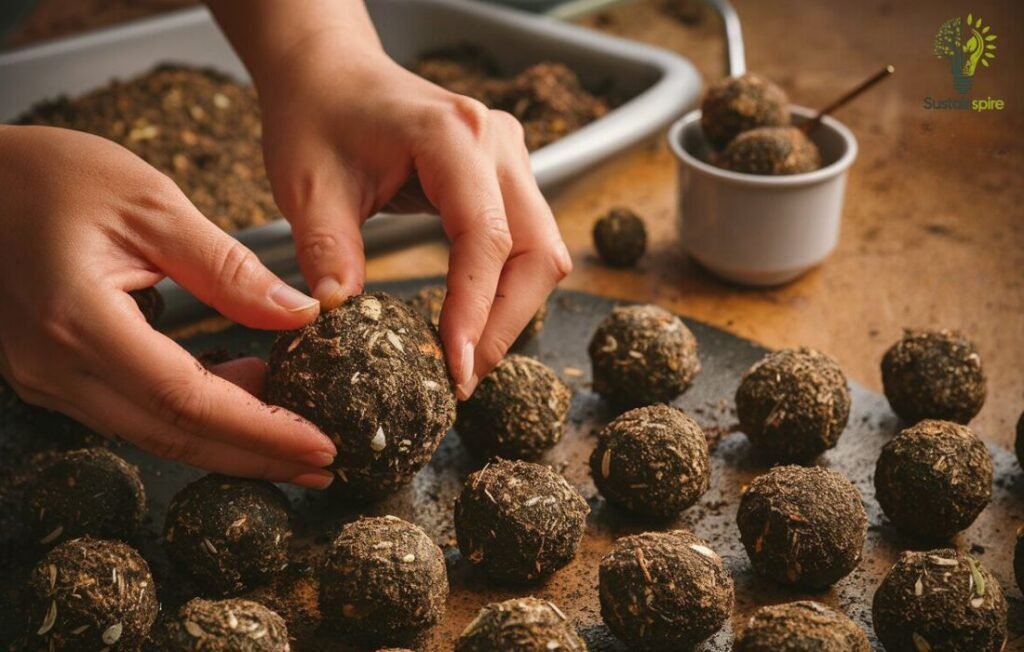
Step 2: Shaping Your Seed Bombs to Perfection
Now add water gradually to your mixture, blending it until you achieve a dough-like consistency — similar to what you’d use to bake cookies (but please, don’t eat these!). Roll the mixture into balls, roughly the size of a marble.
Aim for seed balls that are about 1-2 inches in diameter. This allows enough space for the seeds to sprout and develop healthy roots. Think of it this way, you wouldn’t want to share a tiny apartment with a bunch of roommates, would you? Give those seeds some breathing room!
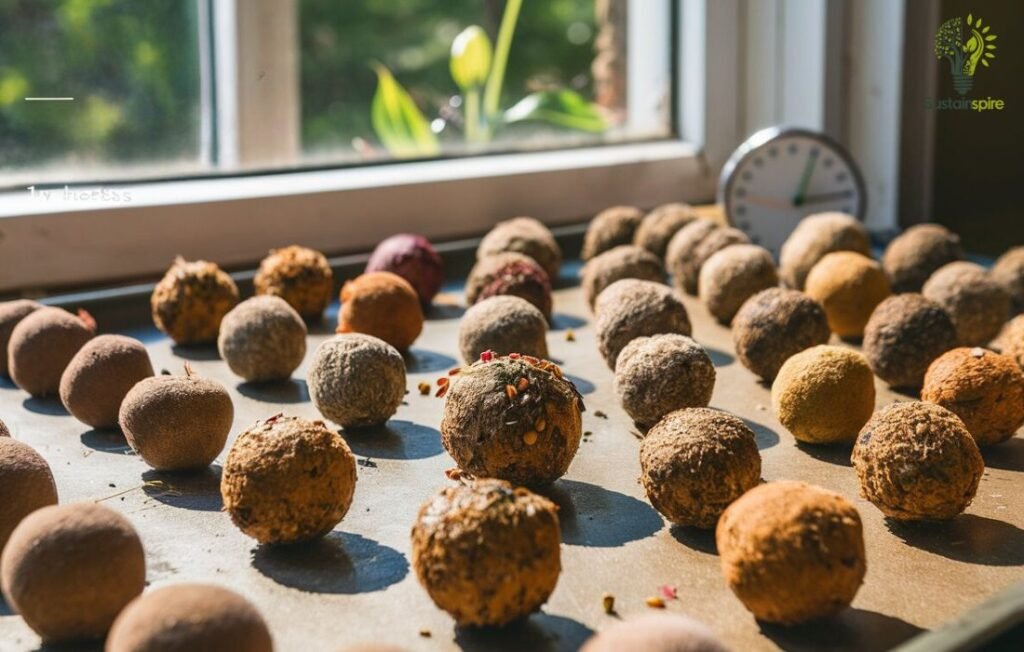
Step 3: Drying Your Seed Balls for Future Adventures
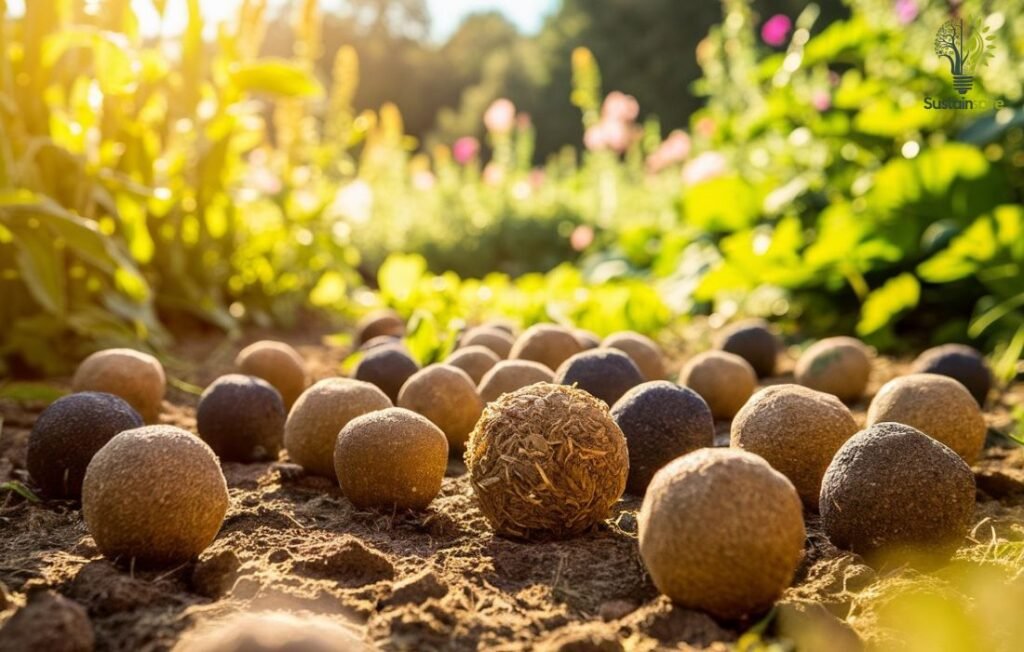
Once your seed balls are perfectly round and adorable, it is time to let them dry out. Lay them out on a tray or newspaper in a well-ventilated area, away from direct sunlight. This crucial step ensures they harden up for their grand adventure.
Want to speed up the drying time? You can place your seed bombs in a warm, dry place, like an attic or a sunny windowsill. But remember, patience is key – allow them to dry completely, which usually takes 24-48 hours, to prevent mold growth.
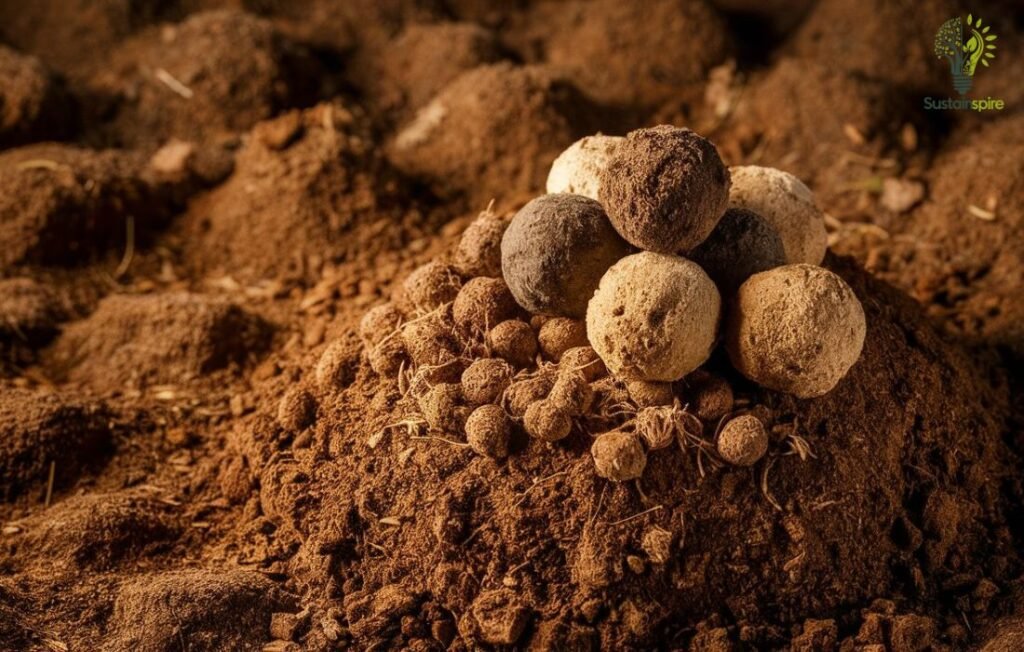
And there you have it! Your very own batch of earth balls, ready to spread joy and greenery wherever they land. These tinny balls can help to protect environment and threatened ecological communities.
Giving Your Earth Balls the Best Chance of Success:
You’ve rolled your seed balls with care and now you are ready to unleash them into the world (or maybe just your neighborhood). But before you do, let’s talk about setting your earth balls up for success. Choosing the right location and understanding a plant’s basic needs are essential for its success. This can mean the difference between a few weak sprouts and a flourishing, vibrant garden.
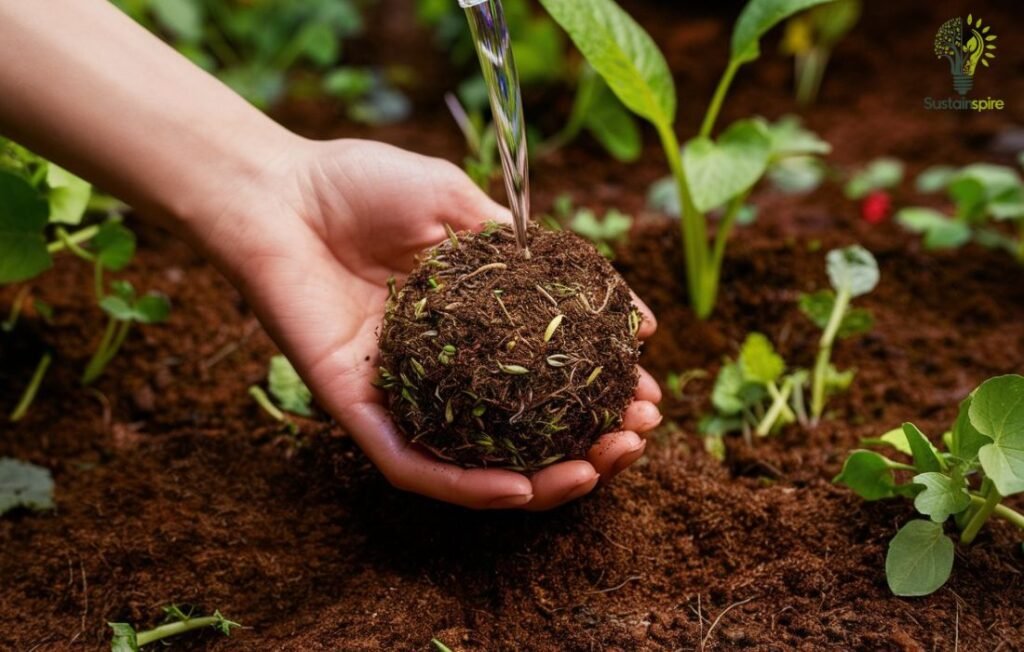
1. Soil Prep: Is It Necessary for Seed Balls?
Seed balls are designed with a bit of soil already included, but that does not mean you should entirely disregard soil preparation. While not always essential, roughing up the ground a bit can make a big difference. This helps the seed ball settle in and access moisture more readily. Think of it as giving your earth balls a cozy landing pad.
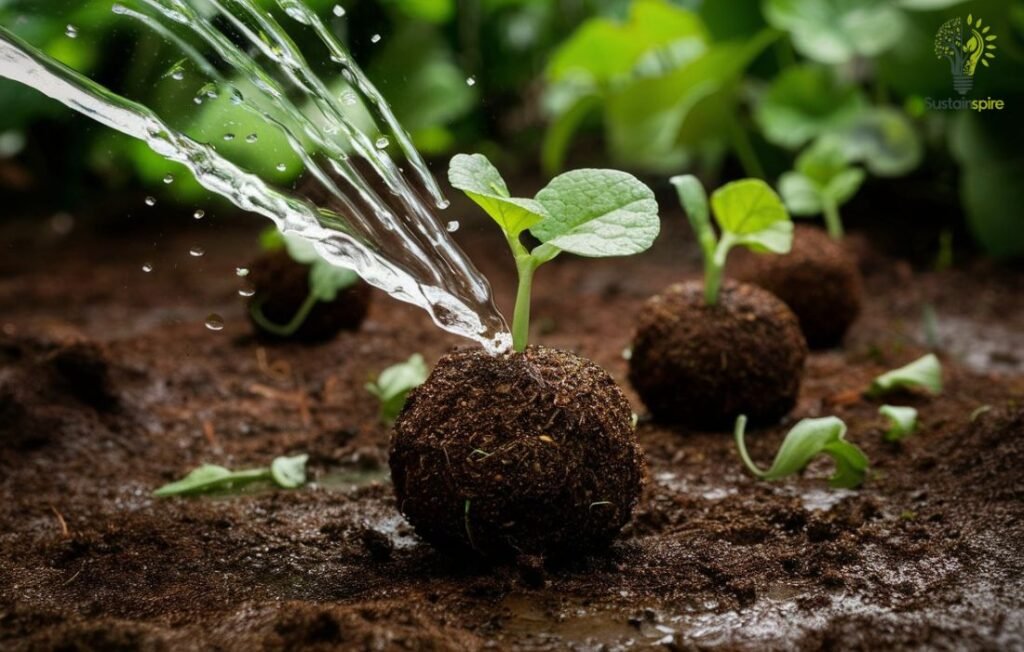
2. Watering Your Earth Balls:
Water is like a magic potion for your seed balls, but too much can be just as bad as too little. Aim for consistent moisture, especially in the early stages. Think of it like watering a delicate seedling – you want the soil damp, not soaking. Keep an eye on the weather, as natural rainfall can sometimes be enough.
3. Seed Balls and Sunlight:
Most plants love sunlight, and the seeds inside your seed balls are no different. Choose a spot that receives a decent amount of sunlight each day. However, scorching afternoon sun can be too intense for young sprouts. If possible, aim for a location that gets morning sun and afternoon shade. It is all about finding that happy medium!
Troubleshooting Your Seed Balls:
Even with the best intentions, sometimes our seed bombs need a little extra help to thrive. This section covers common challenges and simple solutions to get your earth balls growing. We’ll look at why seed balls might fail and how to solve these problems. Get ready to become a seed ball superhero!
Help! My Seed Balls Aren’t Growing!
You’ve carefully crafted your seed bombs, filled with the promise of wildflowers and buzzing bees. You’ve scattered them with hope, but nothing seems to be happening. Don’t worry, even the greenest thumbs experience setbacks! Let’s troubleshoot some common reasons why your seed balls might be playing hard to get.
1. Too Much or Too Little Water:
Finding the right moisture balance is crucial for seed ball success. Too much water can lead to rot, suffocating the seeds before they can sprout. Imagine trying to breathe underwater – not ideal! On the other hand, too little water means the seeds won’t have the hydration needed to germinate. Think of it like trying to bake a cake without adding any liquid – it just won’t work!
Striking the Right Balance: The key is to provide consistent moisture without waterlogging. If your seed balls are in a dry area, water them lightly every few days, especially in hot weather. Overwatering is worse than underwatering, as it can cause fungal growth and harm your tiny garden.
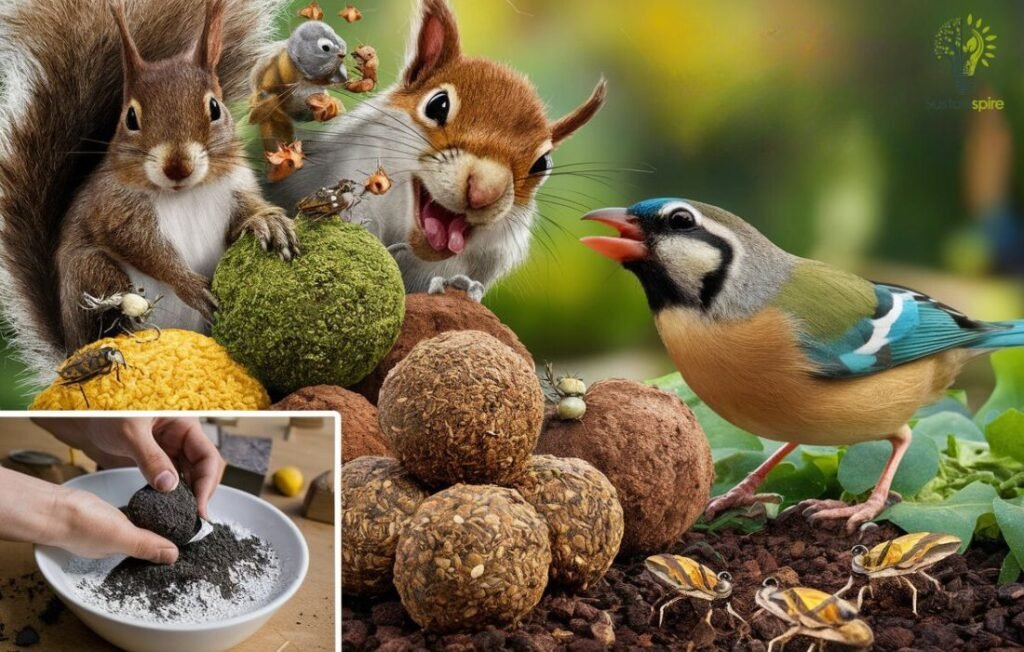
2. Seed Balls and Pests:
Your seed balls are like delicious little snacks for some critters, and they’re not shy about digging in! Birds, squirrels, and even insects might find your seed bombs irresistible, leaving your dreams of a blooming meadow dashed.
Protecting Your Tiny Gardens: You can outsmart those pesky seed bandits with a simple trick: charcoal! Mixing a bit of powdered charcoal into your seed ball mix not only helps deter pests with its scent but also adds beneficial nutrients to the soil. Think of it as giving your earth balls a secret weapon in the battle against hungry critters.
Get Creative with Seed Balls:
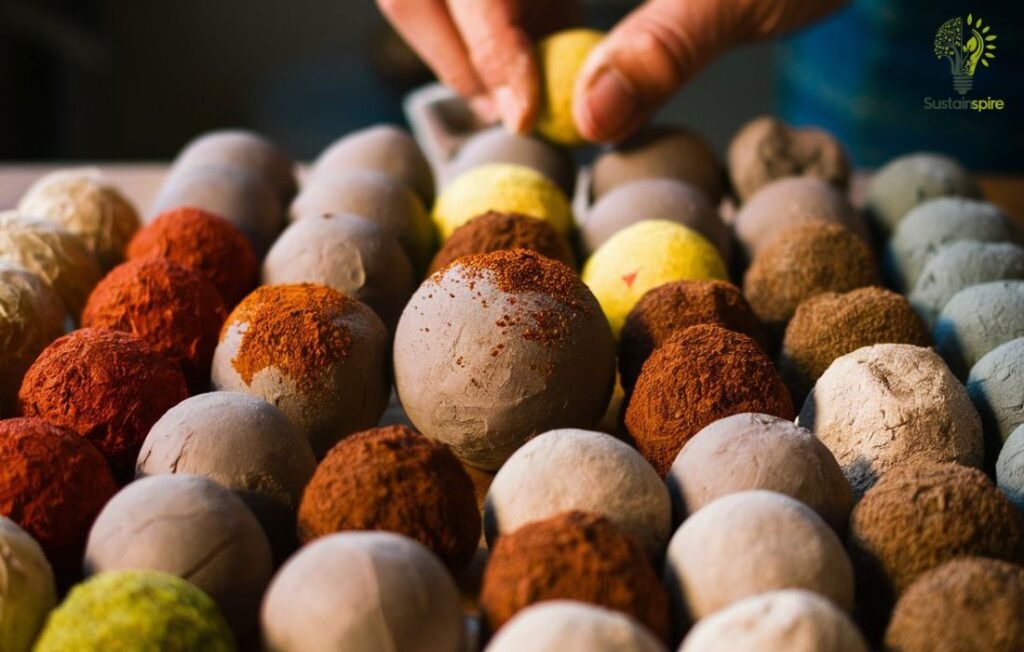
Seed balls are an easy and fun way to start gardening. But did you know you can also get creative with them? Try different shapes and colors to add some excitement to your guerilla gardening.
1. Fun Shapes and Colors for Your Seed Bombs:
Instead of the usual round shape, experiment with different molds to create unique seed bombs. Hearts, stars, or even animal shapes can add a playful touch. You can even find molds in fun seasonal shapes like pumpkins or snowflakes!
To add a pop of color, mix in some natural dyes with your clay mixture. Beetroot juice creates a lovely pink, while turmeric makes a vibrant yellow. These colors not only look beautiful but can also help attract pollinators to your blooming flowers. It is like a little surprise hidden inside!

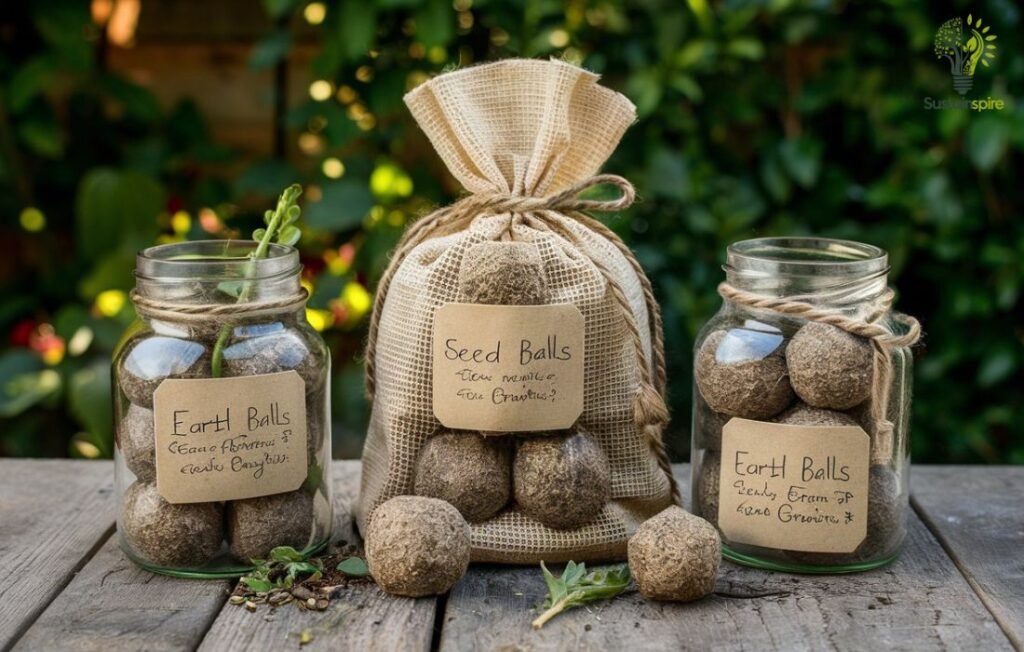
2. Earth Balls as Gifts: Spreading the Gardening Joy
Seed balls also make wonderful gifts for friends and family. Package them in pretty jars or bags, adding a personalized label with planting instructions. It is a thoughtful and eco-friendly way to share the joy of gardening and spread some green cheer. Plus, who wouldn’t love a gift that keeps on growing?
Conclusion:
This article has explored the simple yet effective world of seed bombs. We learned what they are, why they’re beneficial for both budding and experienced gardeners, and how to make them using readily available materials. We’ve covered everything from choosing the right seed mix to understanding the importance of soil, sunlight, and water.
Hope, you are now equipped to troubleshoot common seed ball challenges and can even add your personal touch, transforming them into thoughtful gifts. Remember those adorable heart-shaped seed bombs? Talk about spreading the love (and wildflowers)!
Ready to get your hands dirty and make a difference? Grab your gardening gloves, gather your supplies, and start rolling those seed balls. you will be amazed at the magic you can create, one tiny ball of potential at a time! Share your seed ball adventures and blossoming successes with us in the comments below.


